Layer restrictions in Procreate and how to get around them
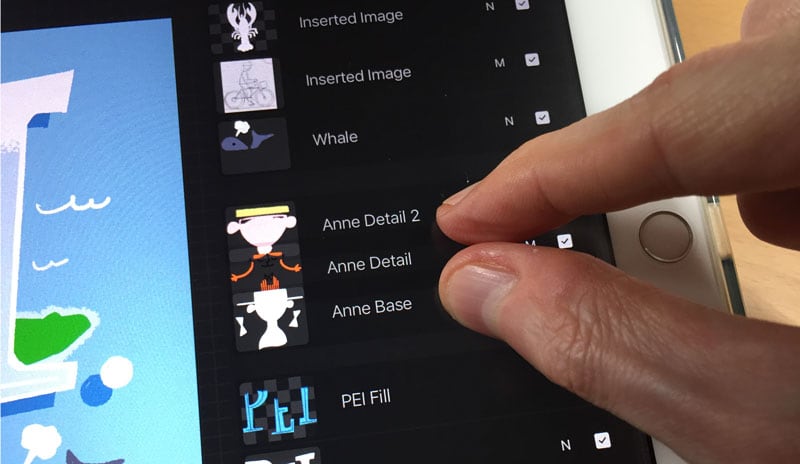
More than any other app, Procreate has changed the way I work. I’m no longer shackled to my desk. It also replicates the classic drawing experience pretty well. Adding the PaperLike screen makes it even better.
I love Procreate, but there’s one nit I have with the app, and that’s the layer limitations.
In Photoshop, I never have to worry about the number of layers I add. I prefer to separate as many elements as I can, and group them into folders. The extra organization makes things easy to find. Some of my Photoshop files have upwards of 100 separate layers.
On a desktop—or laptop—the extra performance makes it easy to process all those layers. In Procreate, however, we have to work within the limitations of the device. That means having to plan carefully.
Why Procreate limits the number of maximum layers
Procreate limits the number of layers based on a few criteria:
- The amount of RAM in your particular iPad.
- The size of your canvas, and DPI (Dots Per Inch).
The layer limitations help with performance and lessen the chance of a crash.
For the purpose of this post, I’m going to assume you at least know the basics of Procreate.
RAM
Earlier iPad models, which have less RAM, are at a disadvantage. If you’re in the market for a new, or used, iPad, get one with as much RAM as you can afford. For example, I went with the second generation 12.9” iPad Pro, as it has 4GB of RAM.
More RAM = More layers.
Canvas Size
Procreate dynamically calculates the maximum number of layers. The larger your canvas, and/or the higher the DPI, the fewer layers you’ll have to work with.
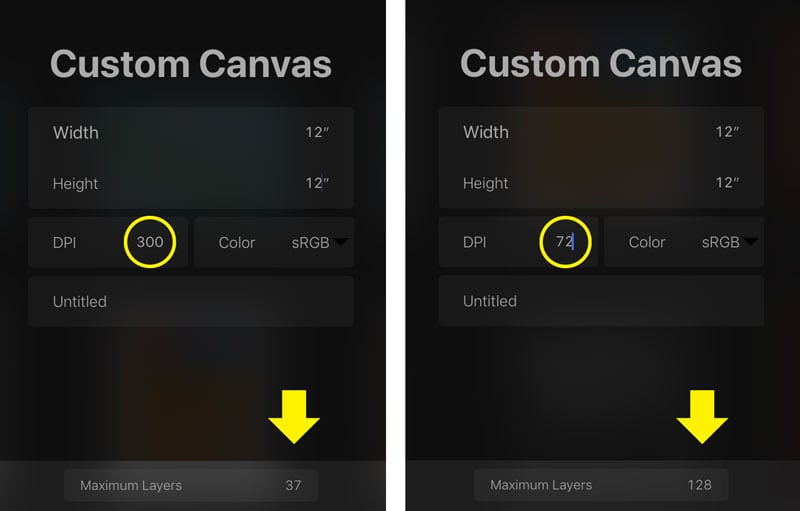
In the example below, I’ve created a custom canvas of 12×12”. At 300 DPI that gives me 37 layers to work with (left). If I drop the DPI to 72, then the layer limit goes up to 128 (right).
I like to work with as much resolution as possible, typically around 300-350 DPI. I also like to work with a larger canvas size, usually 12×12” or 13×18”, as I can print to those on my large format Epson R3000.
Even with the added RAM in my iPad Pro, this means I have fewer layers to work with.
Consider your output destination. I prefer to have enough resolution to produce a decent sized print. If you’re outputting to a JPG, then you can get away with a lower resolution file.
If you really need all those layers in one document, then the tradeoff is a smaller canvas size, and/or a lower dpi.
Large canvas and/or higher DPI = Less layers
Small canvas and/or lower DPI = More layers
The workaround
1. Make sure elements don’t touch
Having each element in its own layer is convenient. Each element has it’s own, unique name. If I want to move it around, I just click on the transform icon (Arrow) and re-position the art .
Here’s a simple example (below). Nothing on my “wave” layer is touching, so I just put them all together. Note that the ocean is on its own, separate layer below the waves.

When I have multiple elements on a single layer, I have to manually select them with the selection icon (the squiggly “S”) then move it. It just requires a bit more work.
The biggest drawback to this approach is any layer effect (ie. opacity, drop shadow, adjustments, etc …) will be applied to EVERY element in the layer.
The “don’t touch” approach is good if you want to keep all the attributes consistent on the layer. For example, everything will be the same opacity, or have a drop shadow.
You’ll have to get creative with your layer naming. You may have many different bits, but at least Procreate gives you a layer preview (below).

As long as you don’t need too many different layer effects, this method may let you keep everything in one document.
2. Group layers
This approach will let you use whatever canvas size and DPI you wish, but you must duplicate your file as you go.
The method here is to strategically group layers. You’ll have to use your best judgement as to when to “flatten” your layers.
Here’s my original PEI artwork with multiple layers for “Anne” (below).
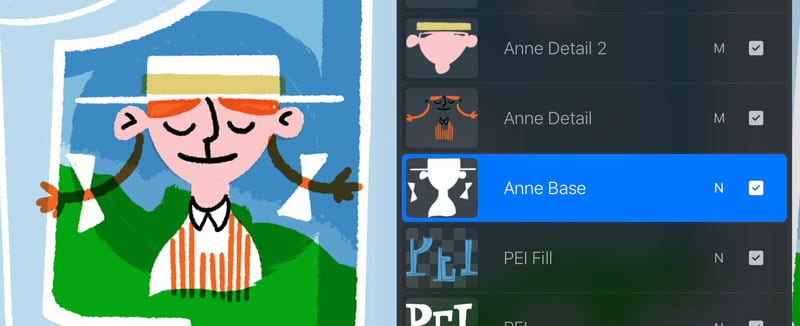
Once I was satisfied I didn’t need to do any further editing, I duplicated the artwork in the gallery (below).

Open the duplicated file, and merge the appropriate layers (below). Select the top most and bottom most layer and “pinch” them together.
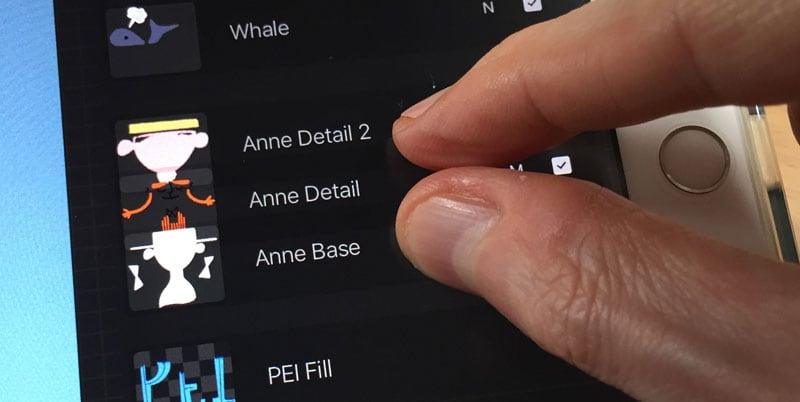
Grouping the layers reduces the overall amount, letting you add new layers. Below is my grouped “Anne” layer.
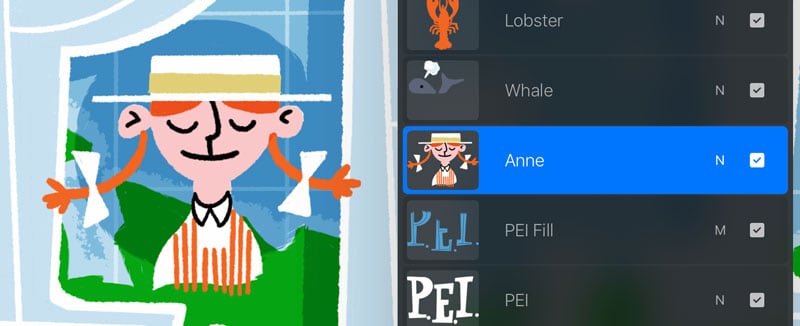
For my PEI artwork, I went through five different versions, strategically grouping layers as I went.
It’s not a perfect solution, but at least you always have an earlier, layered version to go back to.
NOTE: If you have any layer effects in your original, layered file, watch for any changes. In my original Anne layers, I had her hair and stripes of her dress multiplied on top of the background. When I grouped the layers, this effect was deactivated. In the end, I was okay with the look. It’s just something to be aware of.
When you REALLY need to add another layer
If you have a template layer (ie. an imported sketch), then discard it as soon as you’re comfortable. Also, discard any layers you feel you won’t be using anymore. This is sometimes tough, as I feel I may want to go back to it. If you’ve reached your layer limit, you may have to let those go.
Summing up
It may be a bit clunky having to dance around the whole layer limitation thing. However, the other benefits of Procreate still outweigh the inconvenience.
