Add a textured background to your artwork in minutes

I’ve always liked the look of ink on a textured paper, especially cardboard. You will see this a lot on older matchbooks. The tiny artwork, ink bleed, print mis-registration and course paper texture gives it a real charm. There’s an easy way to add a textured background to your artwork.
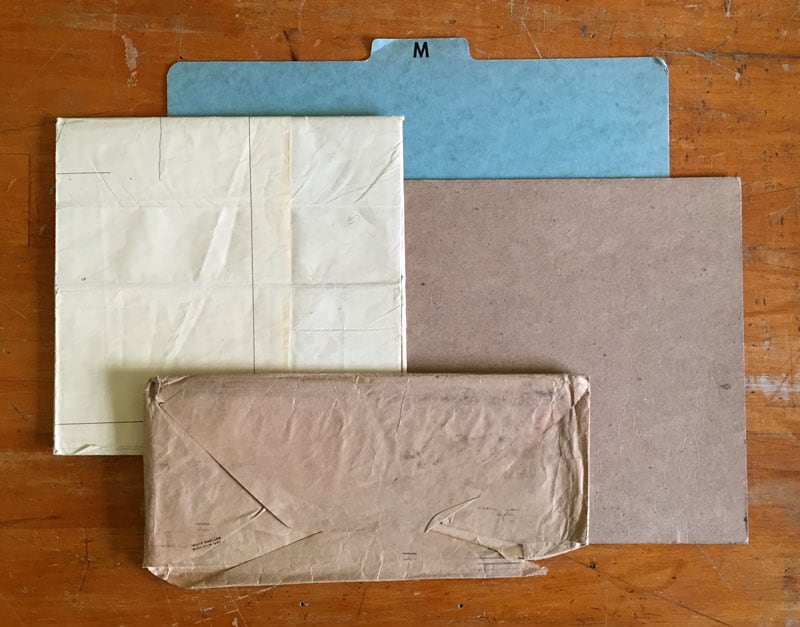
Below are a couple of samples my dad kept around—likely circa 1970.

I find when I use this method on my own artwork, it adds another layer (literally) of character. It’ll involve a bit of digging, but the result will inject some “analog” goodness into your art.
Start by looking for, and saving, any rough paper and cardboard you come across. The more random the texture, the better. I will often save the backs of legal note pads. Chip board can be another good source. This is the recycled paper used to strengthen envelopes.
I looks for samples that have a lot of fibre “bits”. The random texture will show up better than something with an even grain.
Look around at flea markets and old paper shows for inspiration. You’ll need a decent area clear of any printing.

Adding a textured background in Procreate
The quickest method is to simply to snap a photo from within Procreate.
- Click the “Actions” (Gear) icon.
- Select “Add”.
- Select “Take a photo”.
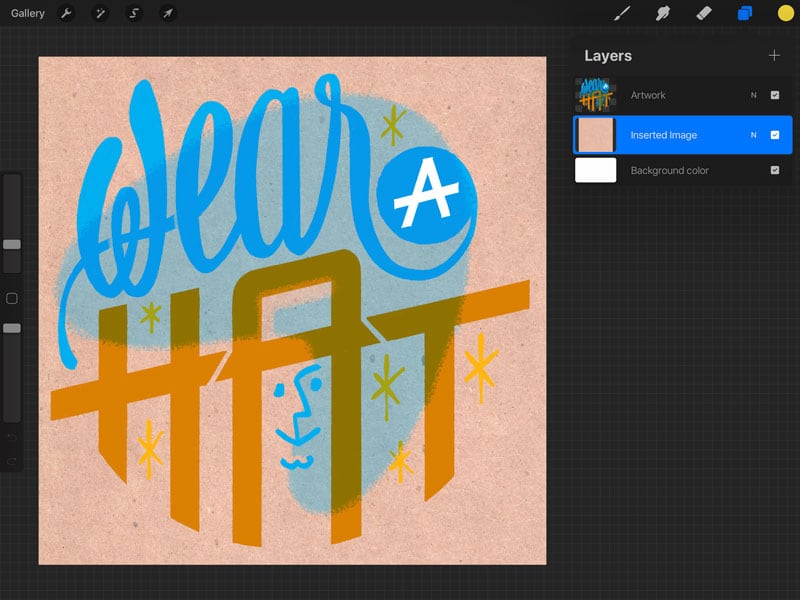
Make sure the paper is as evenly lit as possible. Click “Use Photo” to place it into your artwork. It’ll be dropped in on a new layer called “Inserted Image”. Position the image where you’d like it. Here, I resized it to cover the canvas.

Move the image to the background so it sits just above the “Background color” layer (below).

Select “Adjustments” (Gear), and “Hue, Saturation, Brightness”. I usually only adjust the saturation and brightness levels, but feel free to adjust to your taste. I’m looking to keep a lot of the texture, but not the overall brown tone of the paper. I reduced the saturation a lot, but not completely, as I wanted to keep a bit of warmth in the paper.

Use layer effects to multiply the other layers of art on top of the textured background. This will let all the texturey goodness come through. Below, I only have the single artwork layer. As nothing is touching, it works for this example. If your art has multiple layers, experiment by multiplying the individual layers. Generally, I find it’s better to merge same coloured layers and then multiply.

Adding a textured background in Photoshop
For a finer degree of control, I will scan and import the image into Photoshop. This way I know the image is evenly lit.
As with the Procreate process, I prefer to tone down the paper texture.
Go to Menu > Image > Adjustments > Black & White. I usually don’t do any further adjustments in the Black & White module.
Go to Image > Adjustments > Levels (Mac: CMD + L, PC: CTRL + L). In the image below, you can see the unadjusted black & white image.

It’s still a bit flat looking. I’ll adjust the sliders to increase the contrast. Play around with the settings until you’re satisfied. Each image will be different, so use what I’m showing here as a guide. Below you can see the adjusted image. Try and strike a balance between decent contrast and maintaining the texture.

Below is the paper texture with the artwork just sitting on top (not multiplied).

And now with the artwork multiplied on top.

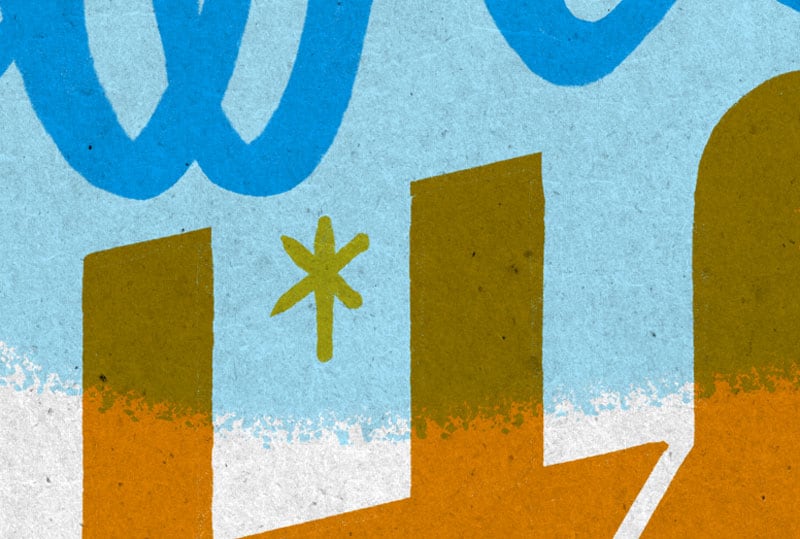
Here’s a closer look at the texture …

Sometimes as I’m doing my critique, I’ll feel that an illustration needs “something else”. Generally, I’m not a big fan of adding stuff. I like to keep things simple. But this is a case where a subtle, textured background can add another element without junking things up.
